1. Where oh where? It’s all about location.
If you are just starting out, you are going to be limited on where you will be able to actually record. Whether you have enough space to dedicate a whole room to recording or it’s in your bedroom, kitchen, or even closet. Where you actually record in that room matters.
You need to find the best spot to record in your room. There are a few ways to do this. But it will take some time and experimenting.
Here are some techniques to find your rooms sweet spot:
- Play some music in the room where you will record. Find the place that it sounds the best.
- Walk around the room while clapping, you might hear a short ringing echoing sound, the place that this is least noticeable will be a good spot.
2. Control your Room. Show it who’s boss!
The room is going to leave its imprint on the recording no matter what you do, but you can do some things to lessen its influence on your recording.
You are going to want to get rid of any flutter echo or reverberation in your room. The best way would be to get some actual acoustic treatment. But in a bind you can use some common house hold items or buy some inexpensive things. The things in your room such as mattress, sofa, and bookshelves are actually helping you.
Here are some things on using these items to help control your room:
- Hang up some thick blankets against the walls. (Moving blankets work well as well)
- If you can, put your Mattress behind whatever your recording. If not, stack up pillows and blankets.
- Put blankets around what you are recording, but don’t totally cover it. You don’t want to it sound like it is literally covered by a blanket.
- Experiment with different things. I would actually love to know how my readers get their recording sounds.
3. Check Your Levels Man!
You probably have heard of someone say that you need to record as loud as possible to keep the noise floor down.
That is outdated information.
In the age of digital audio, we have plenty of head room and the noise floor is so low compared to the noised introduced by analog equipment and tape.
I recommend recording so your peaks hit around -10 DBFS.
4. It’s not about the gear, but..
Many people these days are preaching this, and it is true, but you do need to choose the appropriate gear.
Many people with a lot of practice and experience can get a professional sound from their home studio (or bedroom).
The right equipment on the right instrument is what leads to a good sound.
Let’s look at an example.

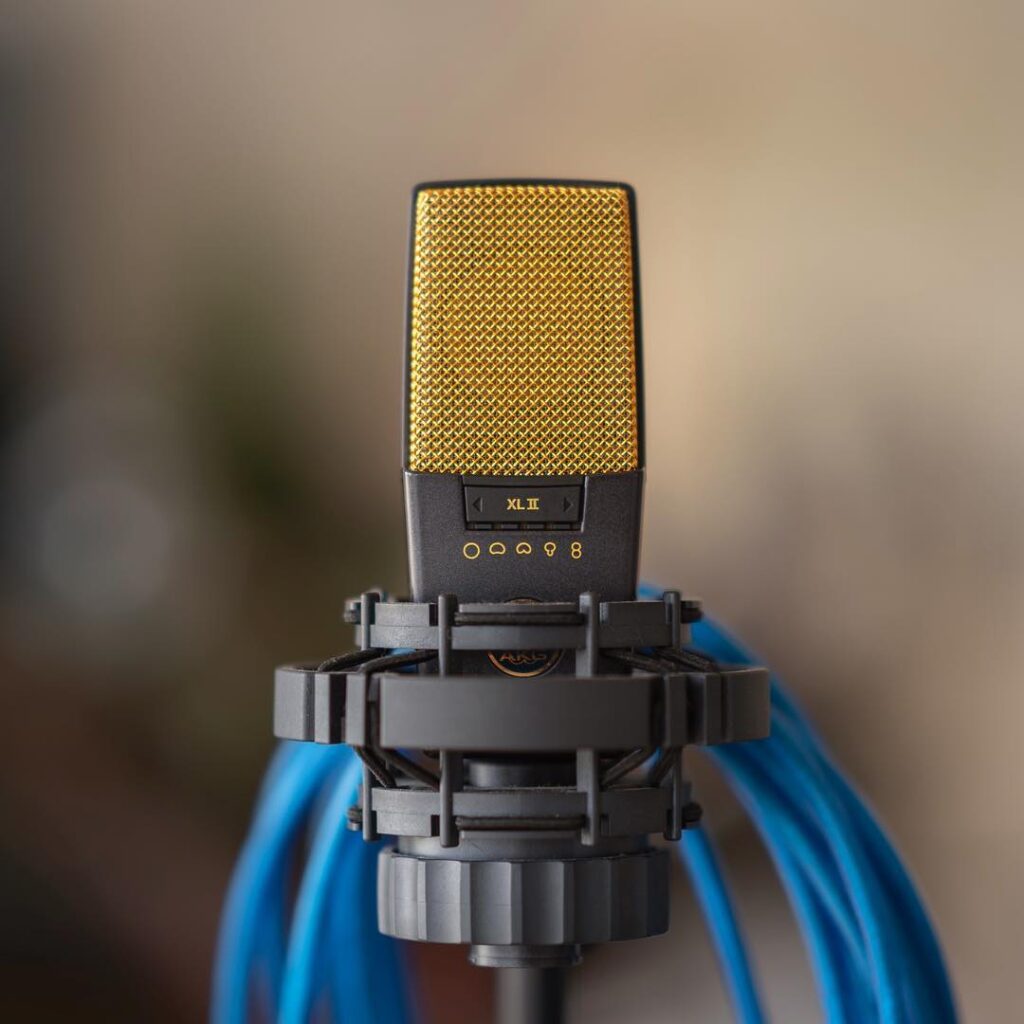
The AKG 414 which is a $1000 microphone that is known for being on the bright / almost brittle side. It might not work on a vocal if the singer’s voice is already bright.
So you say,
“I don’t have the money to go out and buy various microphones so that they match the instrument.”
I would then tell you to buy smart and try out some microphones on the main instrument you will be recording before you buy it.
If you can get lucky, find a retailer that will let you exchange microphones until you find a good one that matches.
5. Wipe on, Wipe off. It’s about Practice.
Are you ready to record? Can you play or sing your part without any mistakes yet?
If yes, good you are ready to record.
If no, keep practicing.
So let’s record. You played the first take perfectly, awesome!
Record a few more takes. When you press that record button you feel a little more pressure compared to when you are just practicing. Get a few takes so you can get in the groove and get rid of those nerves.
BONUS
Bonus because I don’t want you to feel cheated on the last one.
“By Failing To Prepare, You are Preparing To Fail.”
I hope you noticed all of these tips happen before you press that record button. Getting a good recording is all about preparation. Pressing that record button is easy.
It is all the work and preparation that makes the recording sound good.
I will be keeping you up to date on the latest recording and mixing tips. As well as important information at CLFsound.
